Is there a recipe or cooking technique that unnerves you? I have to admit that, for me, the idea of making sushi seemed too daunting to tackle and I put off trying to make it for quite some time. This year, though, I took the plunge and gave it a whirl. Can I tell you something? It is actually really not that hard. Why did I wait so long to just give it a try? Hmmm…that seems to be a theme with me this year. Looking fear in the eyes, taking a deep breath and just moving forward anyway despite the somersaults happening in my stomach, only to look back and think, “That really wasn’t so bad. What was I worried about anyway?”. So what are we waiting for – let’s make sushi.
OK, I will be honest. The process to make sushi is a little bit time-consuming, so be prepared to spend about 1.5 hours or so in the kitchen. Also, if you do not live close to a metropolitan area, it may be a little difficult to find some of the ingredients. Luckily we have two wonderful Asian supermarkets here that carry all the items we needed. They included:
- A bamboo mat to make the maki rolls
- A wooden spoon to stir the rice
- Nori – thin sheets of seaweed
- Sushi rice – this is crucial. It must be the short-grain sushi style rice or it will not be sticky enough to work with.
- Rice vinegar
- Wasabi powder – Japanese spicy horseradish to serve with the sushi
- Pickled ginger – Accompaniment to the sushi
- Soy sauce
The list of ingredients that follow are the items we chose to use for our maki rolls but you can really pick whatever you fancy:
- Sushi grade tuna
- Imitation crab meat
- Avocado
- Red pepper
- Cucumber
- Pickled daikon radish
- Chili sauce
- Mayonnaise
Step 1: Making the rice
The first and longest step in the process is making the rice. These measurements will provide enough rice for about 5-6 maki rolls.
2 cups sushi rice
2 1/2 cups cold water
4 tablespoons rice vinegar
2 tablespoons sugar
1 teaspoon salt
[1] Rinse rice in a strainer until the water is no longer cloudy and drain.
[2] Add rice to a medium sized saucepan and cover with water. Cover and soak for about 30 minutes.
[3] Bring the pot to a boil and then reduce heat to a simmer and cook rice for about 15 minutes. [Note: I found that my rice was a tad uncooked at 15 minutes so you may need to do it a few minutes longer.]
[4] Remove the rice from the heat and let stand, covered, for about 10-15 minutes to cool. Transfer the rice to a bowl. Make sure it is not metal. Metal does not react well with the vinegar and can impart a “tinny” taste to the rice.
[5] While the rice is cooling, combine the rice vinegar, sugar and salt in a small saucepan and heat on low to melt the sugar.
[6] While the rice is still warm (important!), add the rice vinegar mixture. If the rice is too cold, the vinegar mixture will not be absorbed by the rice properly. Use the wooden spoon to gently mix the rice, folding as if adding egg whites to the dish.
[7] Cool the rice before using.
Step 2: Cut up all the vegetables
The vegetables should be sliced length-wise so you end up with thin strips.
Step 3: Prepare spicy tuna
If you would like to use spicy tuna as we did, dice up the tuna and mix with 1 part mayonnaise and 1 part chile sauce for a medium spice level.
Step 4: Prepare to roll
Before starting, make sure you have a bowl of water ready. If desired, you can add a little rice vinegar to the water bowl to give the sushi a bit more flavor. Throughout the process, your hands will become quite sticky with rice and you will need to dip your hands into the water bowl to get those pesky rice kernels off your hands.
[1] Lay the bamboo mat on the counter.
[2] Add a piece of nori to the mat, making sure the prettier, shiny side is face down.
[3] Add some rice to the nori, carefully pushing it out to the sides of the sheet. Leave about a 1 inch top border. The trick is to move slowly and carefully and to make sure the rice layer is not too thick.
[4] Next, add the ingredients of your choice as a thin layer at the bottom of the roll. A little goes a long way. Too many ingredients will lead to a very large roll that cannot be easily popped in your mouth. We chose the following:
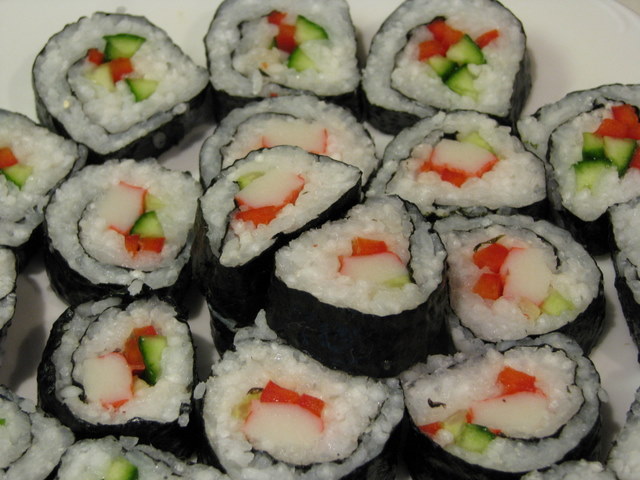
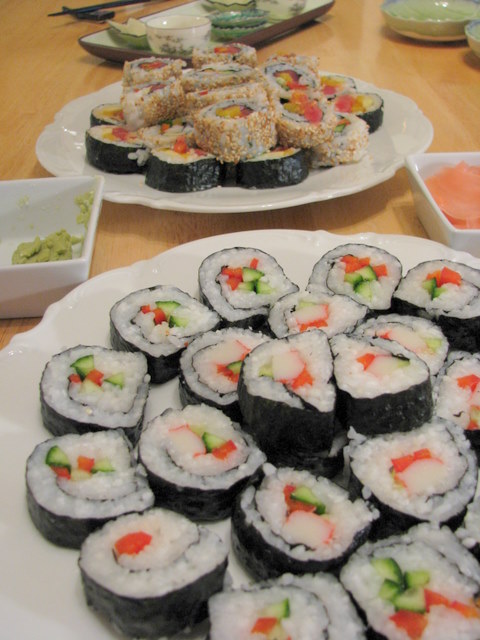
Roll #1: Cucumber and red pepper
Roll #2: Crab, avocado, cucumber and red pepper
Roll #3: Spicy tuna, pickled daikon, red pepper and avocado
[5] Time to roll. Carefully start to roll the mat from bottom to top, gently squeezing to make the start of the roll. While holding the roll with one hand, give a pull on the top of the bamboo mat in the opposite direction. This helps to create a nice, tight roll.
[6] Continue to roll a bit and pull a bit until you get to the 1 inch border at the top. Dip your finger in a water bowl and wet the nori. Make the final roll and press the roll gently to seal.
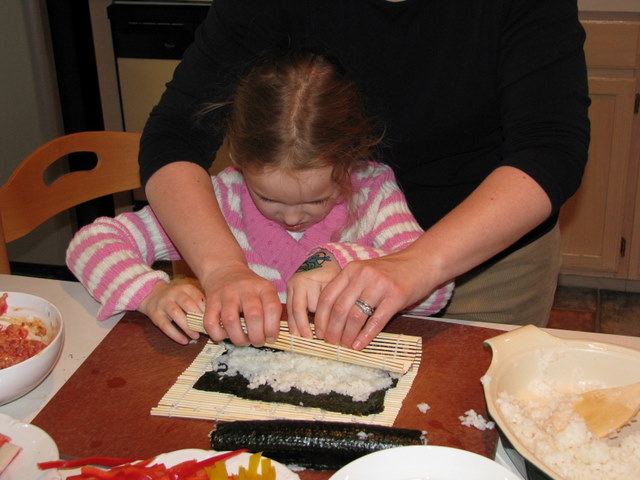
Here we are working on our rolls together:
Here is the step where you need to give a tug to the top of the bamboo mat:
Time to seal up the edges by wetting the nori first:
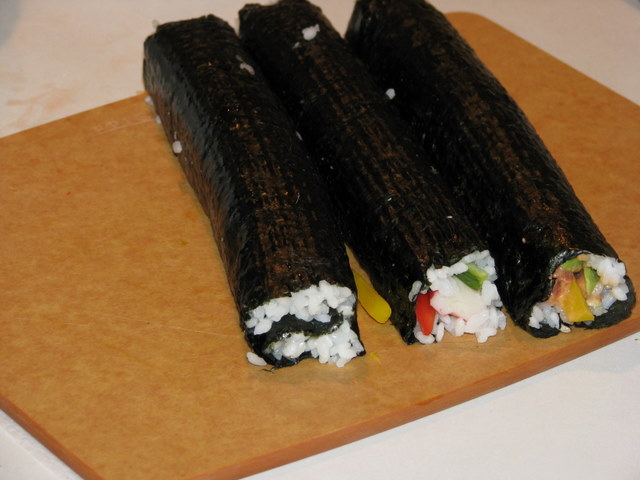
A few finished maki rolls ready for slicing:
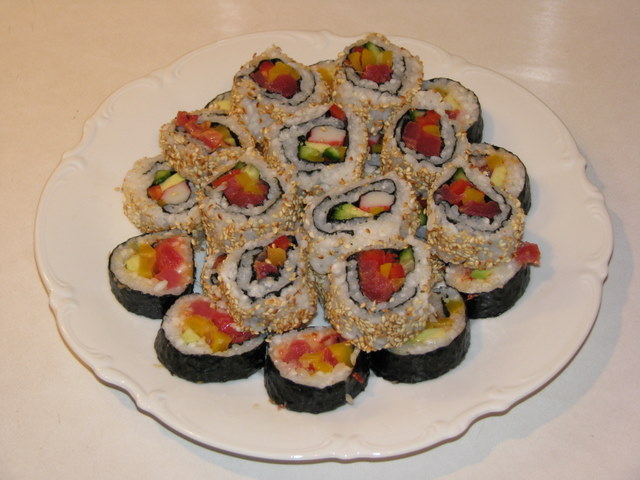
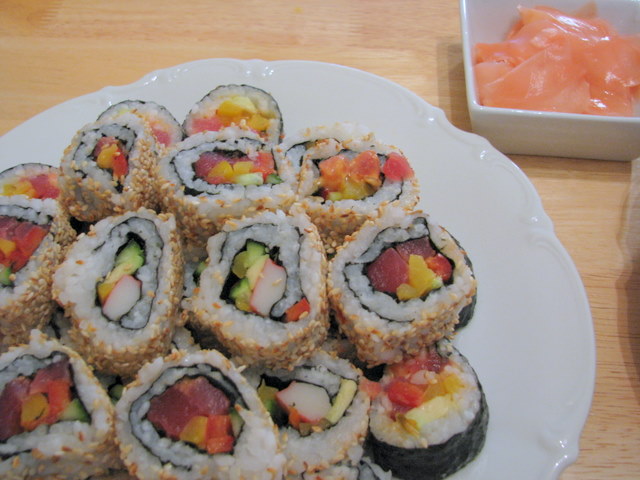
If you would like to try a little more advanced technique, you can do an inside out maki roll which is used to make California rolls.
[1] To make these kinds of rolls, start with a piece of plastic wrap placed over the bamboo mat.
[2] Place a layer of rice on the mat which should be about the shape and size of a sheet of nori.
[3] Add the nori sheet on top of the rice.
[4] Add a layer of ingredients to the bottom part of the roll just like we did with the first roll above.
[5] The rolling part is basically the same process but you need to make sure as you roll that you pull the plastic wrap out so it doesn’t end up all wrapped up in the maki roll.
[6] If desired, roll the finished roll in some toasted sesame seeds.
So much fun – and delicious too!
Have you made sushi before? What did you think? Please share in the comments!
Would you like some hands-on sushi instruction or are you looking for a unique birthday party idea for your child (or yourself!)? Contact The Flavorful Fork to discuss the details.We can bring all the food and equipment to your home and have you rocking and “rolling” in no time.





Great tutorial – thank you so much! I’ve never made sushi, but now with your instructions I can definitely give it a go.
Hello, your maki sushi turn out great! Sushi is delicious but for beginners it takes a lot of skill plus there’s also tools that you have to learn how to use. Making the whole endeavor a huge project require both time and patience.
However, this could be a lot easier by simply using the Saran Wrap or foil as replacement for bamboo mat and first getting to know the basics by searching for a simple to follow rice recipe.